A New Normal (+ DIY Mask Tutorial)

Remember in February all the news outlets specifically told us to not wear masks, with doctors “claiming” it doesn’t do anything? Remember when xenophobic people discriminated against Asians who did?
But in just a matter of weeks, masks have become the new normal. Now it’s our turn to socially shame the people who confuse inconvenience for oppression and refuse to make personal sacrifices for the public good. (Just wear the damn mask.)
If bike shorts and crocs can become trends why can we make public safety fashionable? Lots of people have been DIY-ing face masks of their own, and last week I hopped on that train myself. If social distancing is here to stay I better have some cute (and practical) accessories.

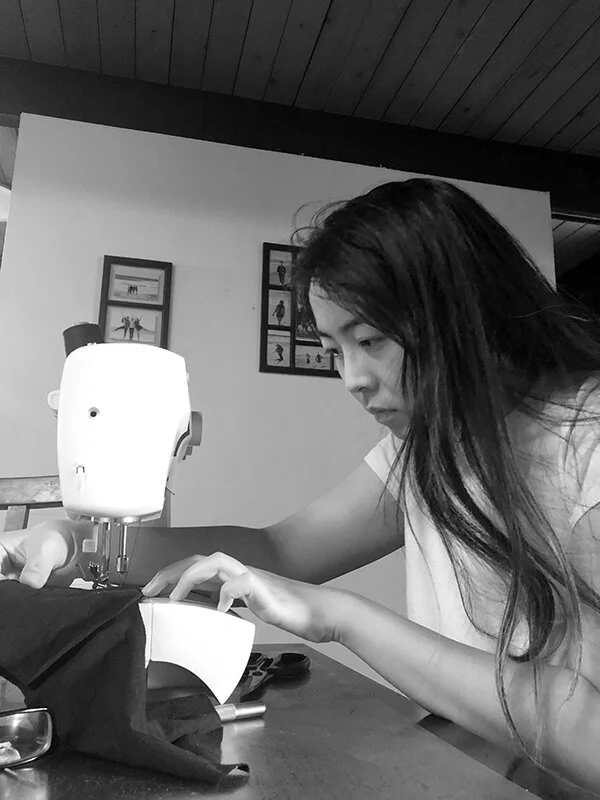
Determined to overcome my fear of fast-moving pointy needles for the sake of fashion, I dusted off the old sewing machine, determined to finally learn to use the darn thing. Four hours of trial and error later, I emerged with 3 DIY masks, made with cotton T-shirts I had planned to donate.
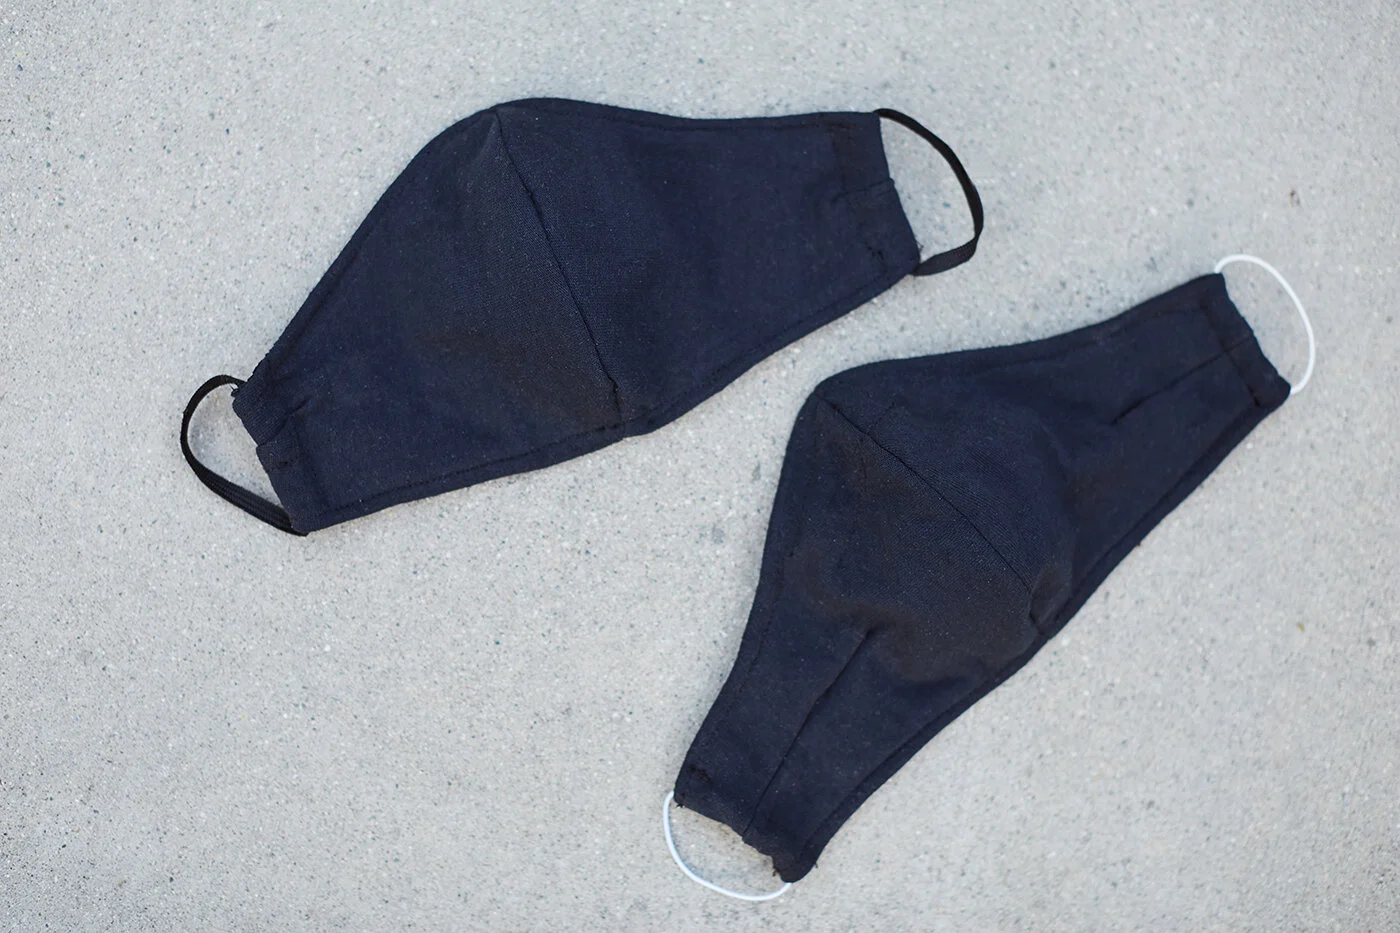
Guys! Look at those relatively even stitches! I can sew now!
Adapted from a couple different tutorials I followed, here are beginner-friendly instructions for making these masks, using materials you can probably find in your home.
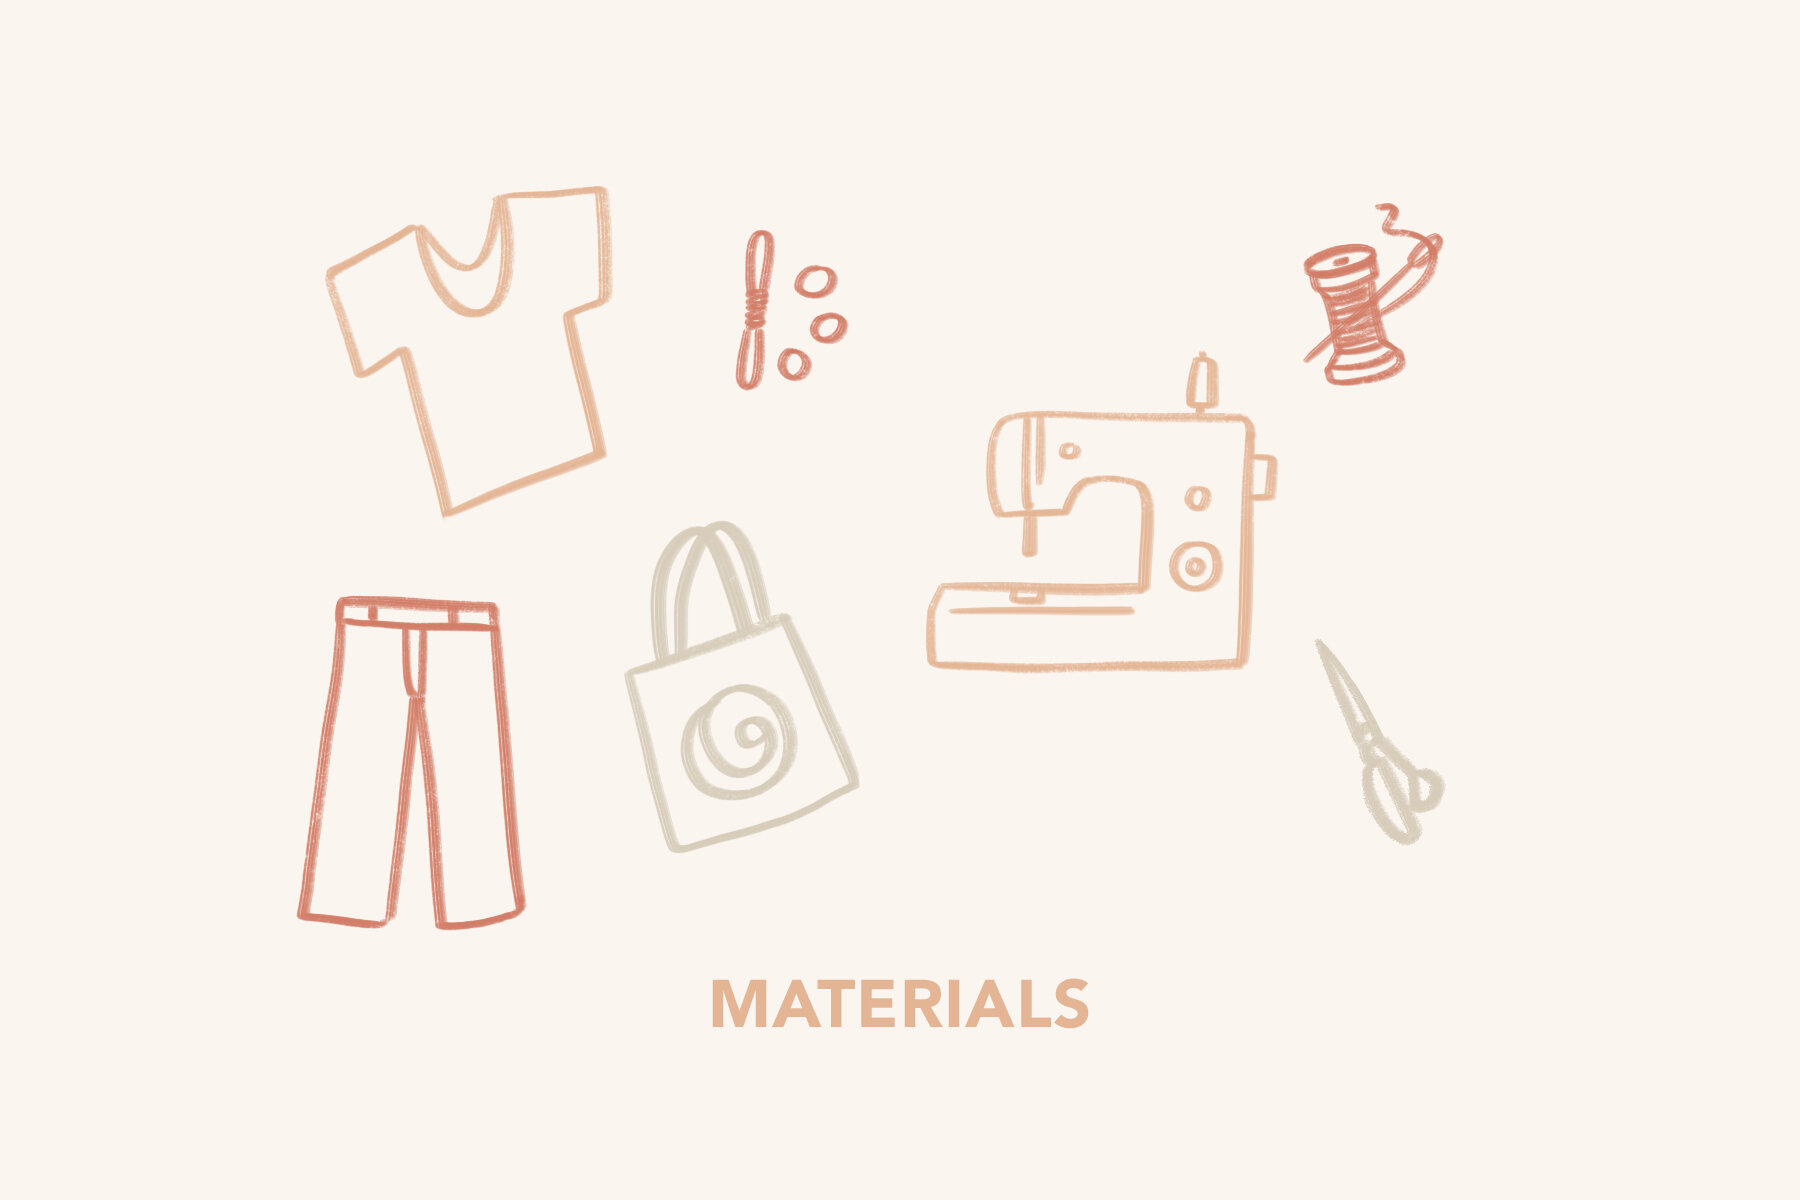
Materials
A cotton t-shirt, denim jeans, or a canvas bag
14” of elastic band
Sewing supplies: scissors, thread, sewing machine
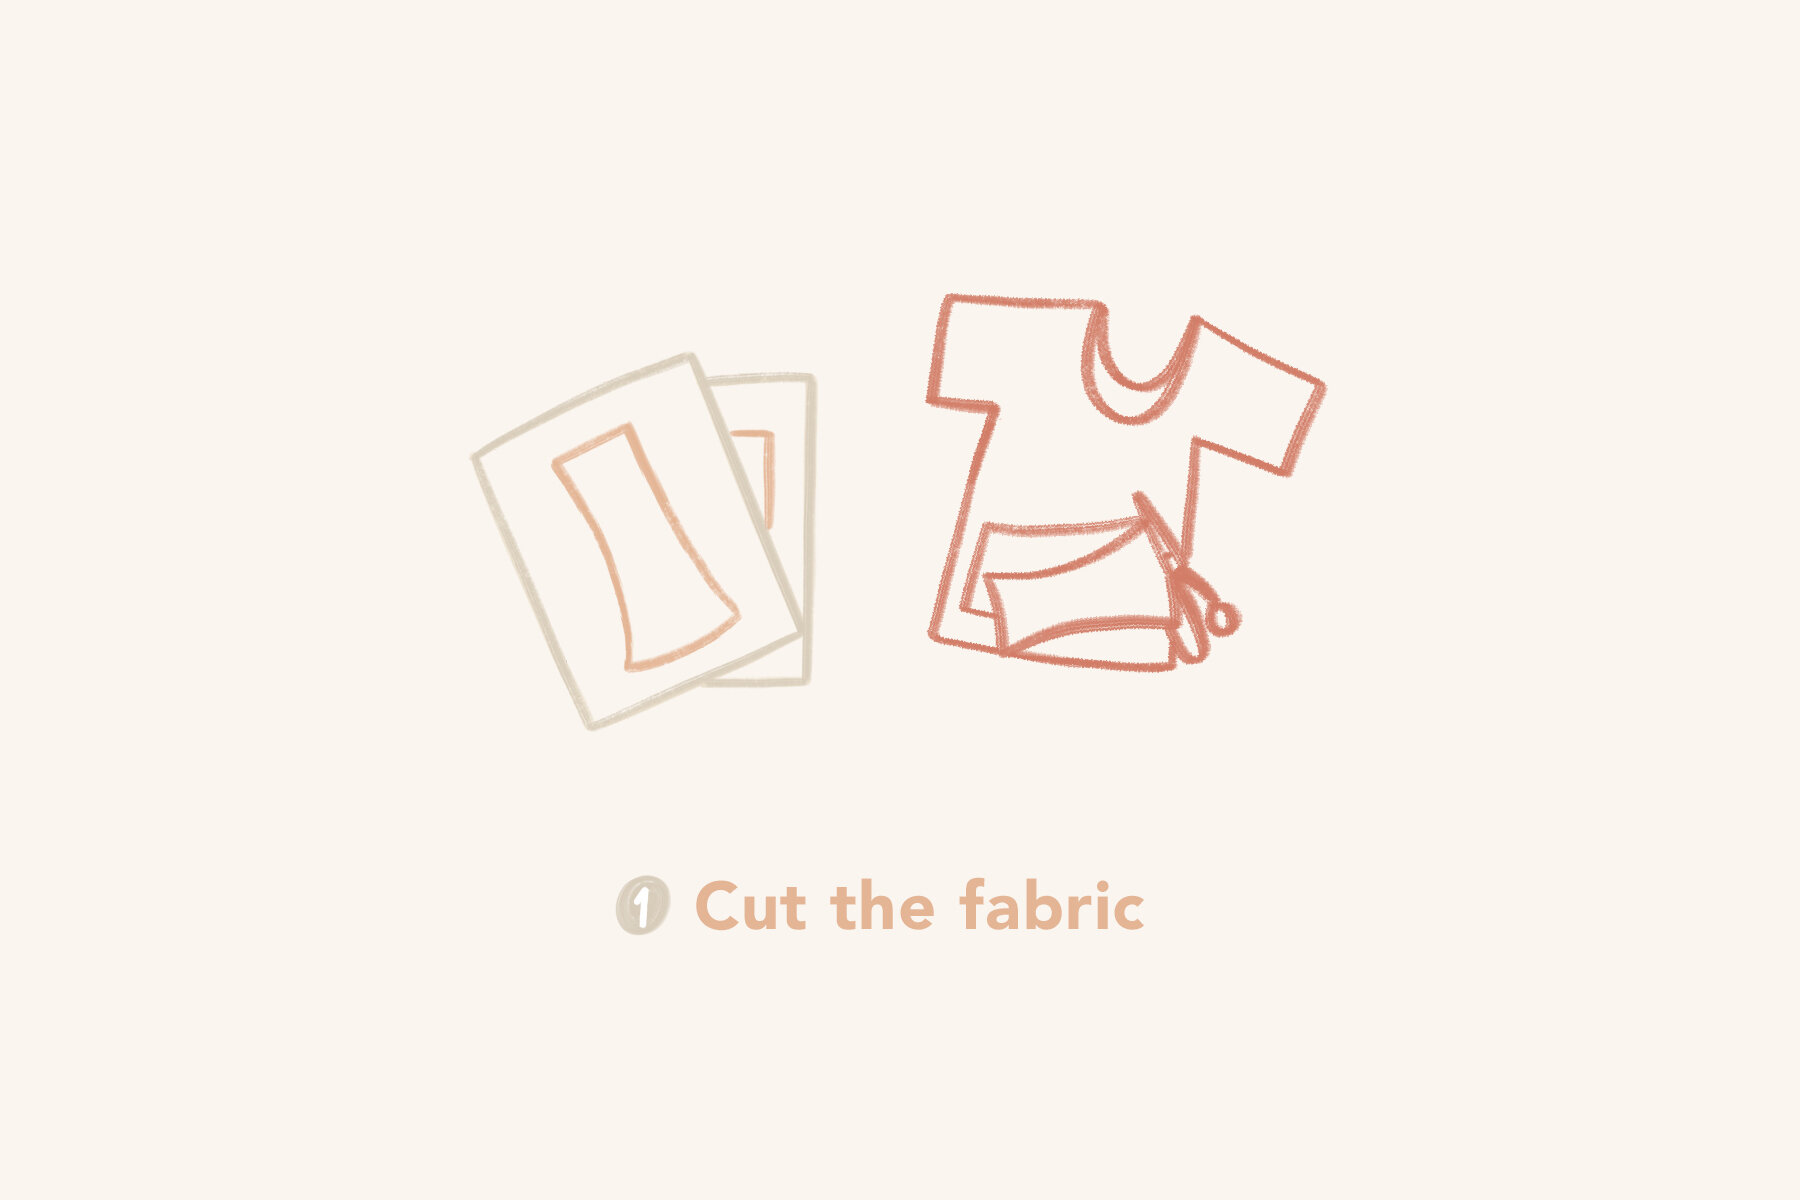
Instructions
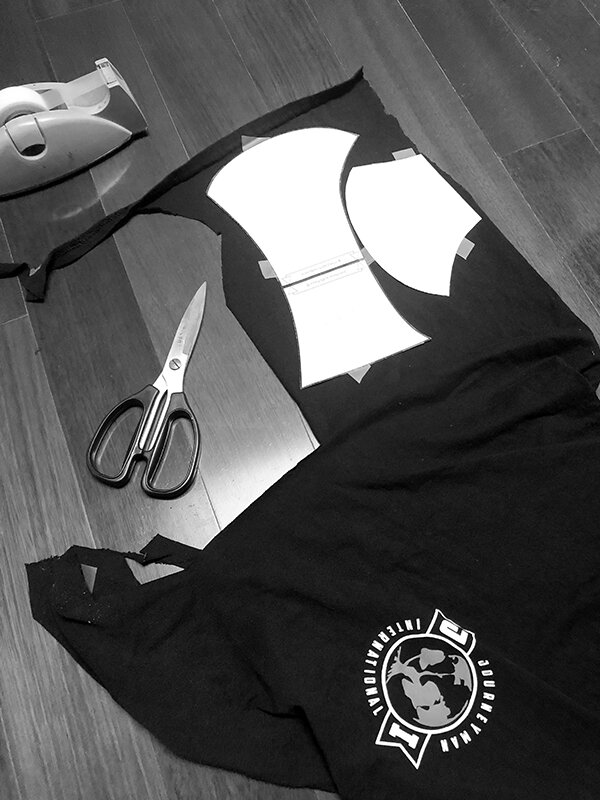
Download this template, print it out at 100% scale on letter size paper, and cut out the 4 pieces of fabric.
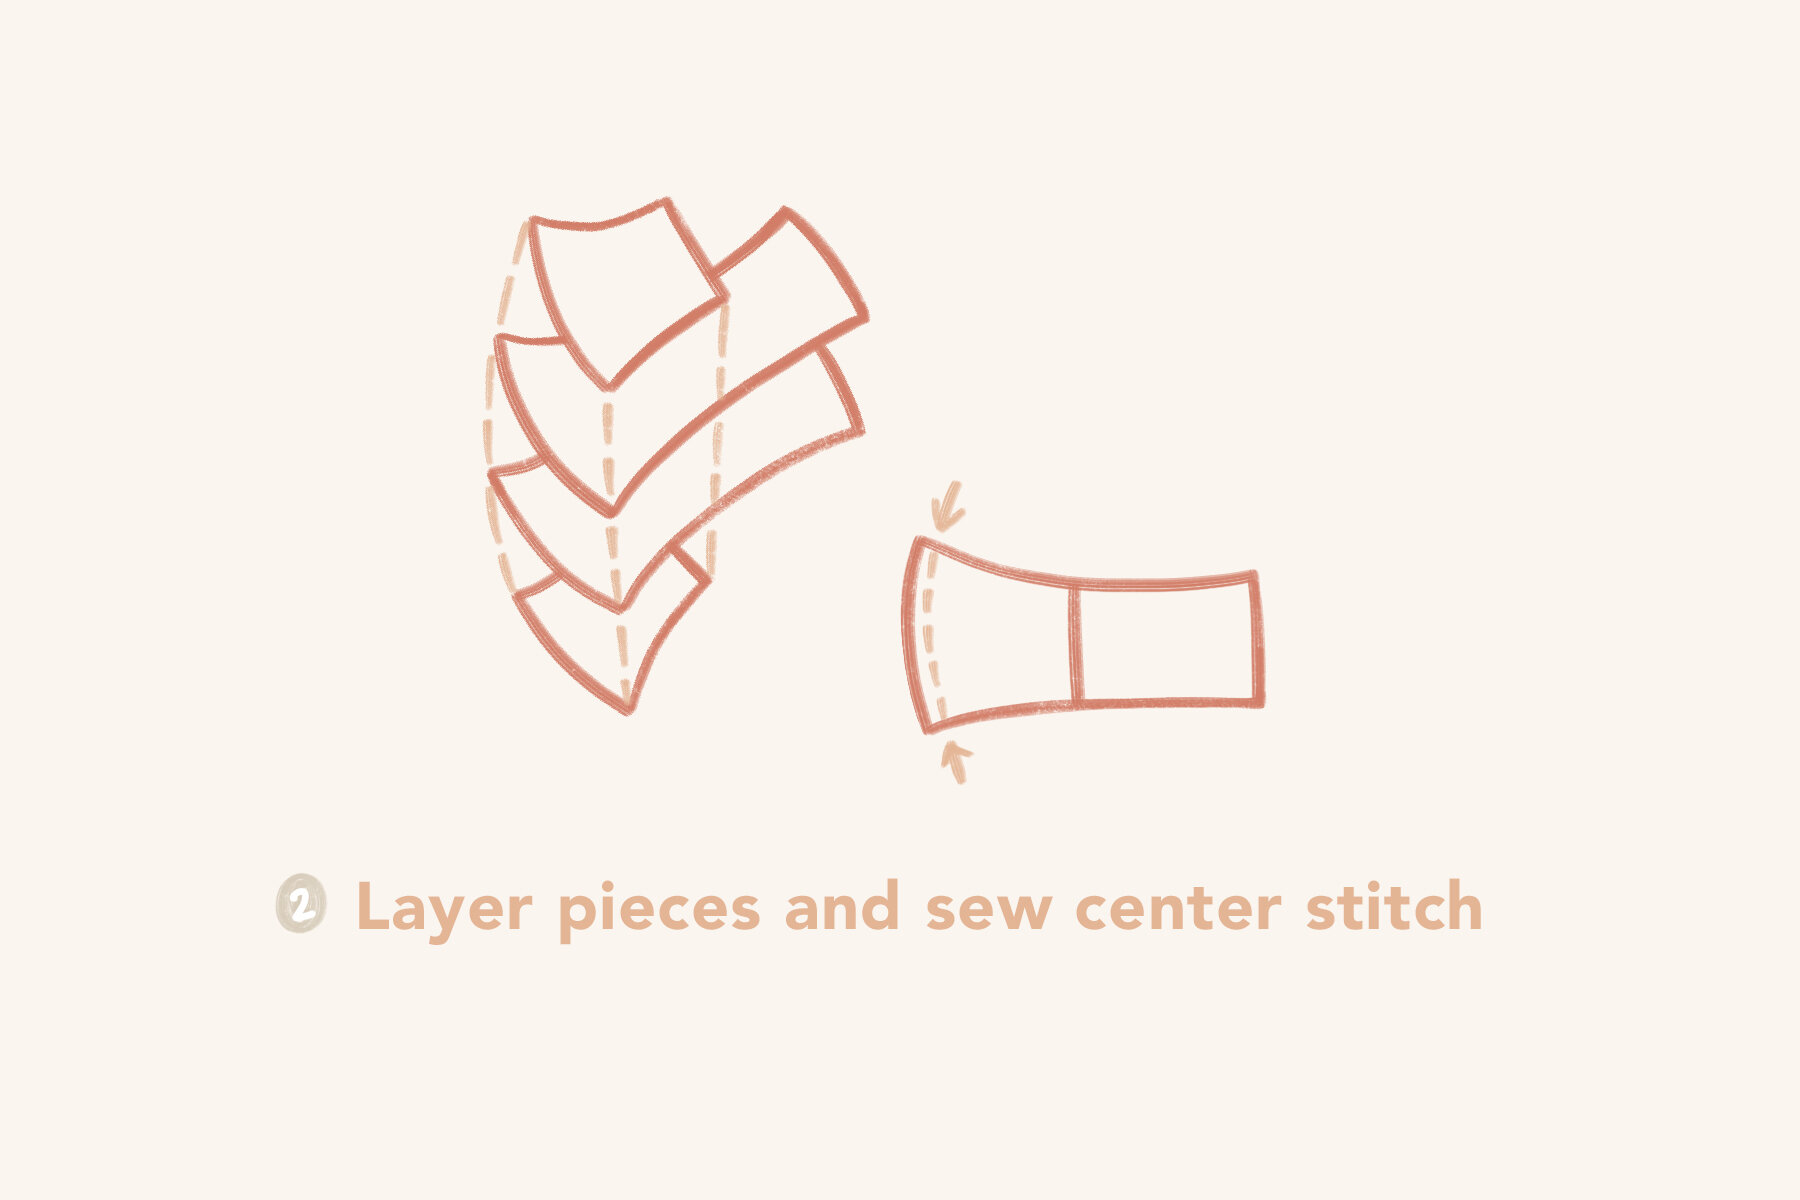
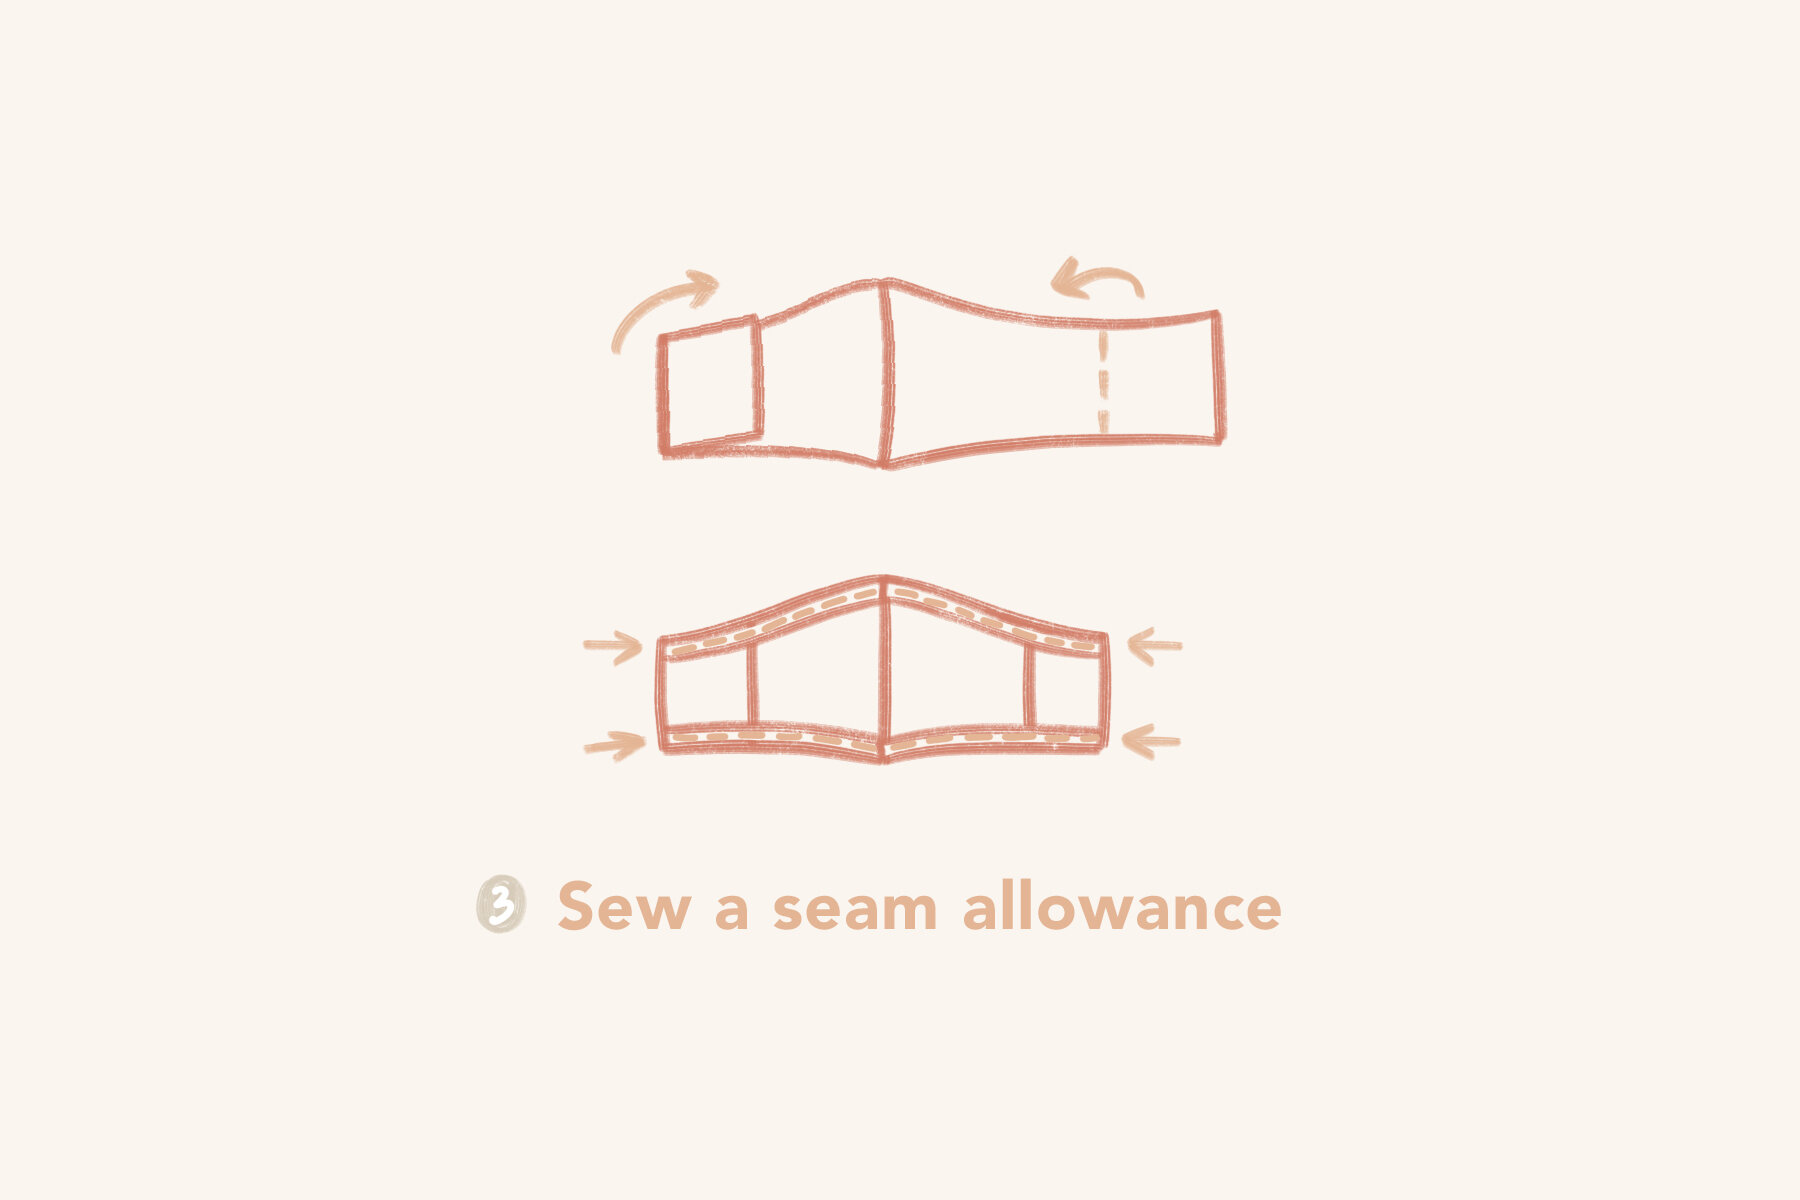
Layer the pieces and secure with a stitch down what would be the middle of the mask. (See diagram above) Then open up the mask so the stitch is facing you.
Fold in the two sides and sew a seam allowance around the top and bottom edge of the mask. (See diagram above)
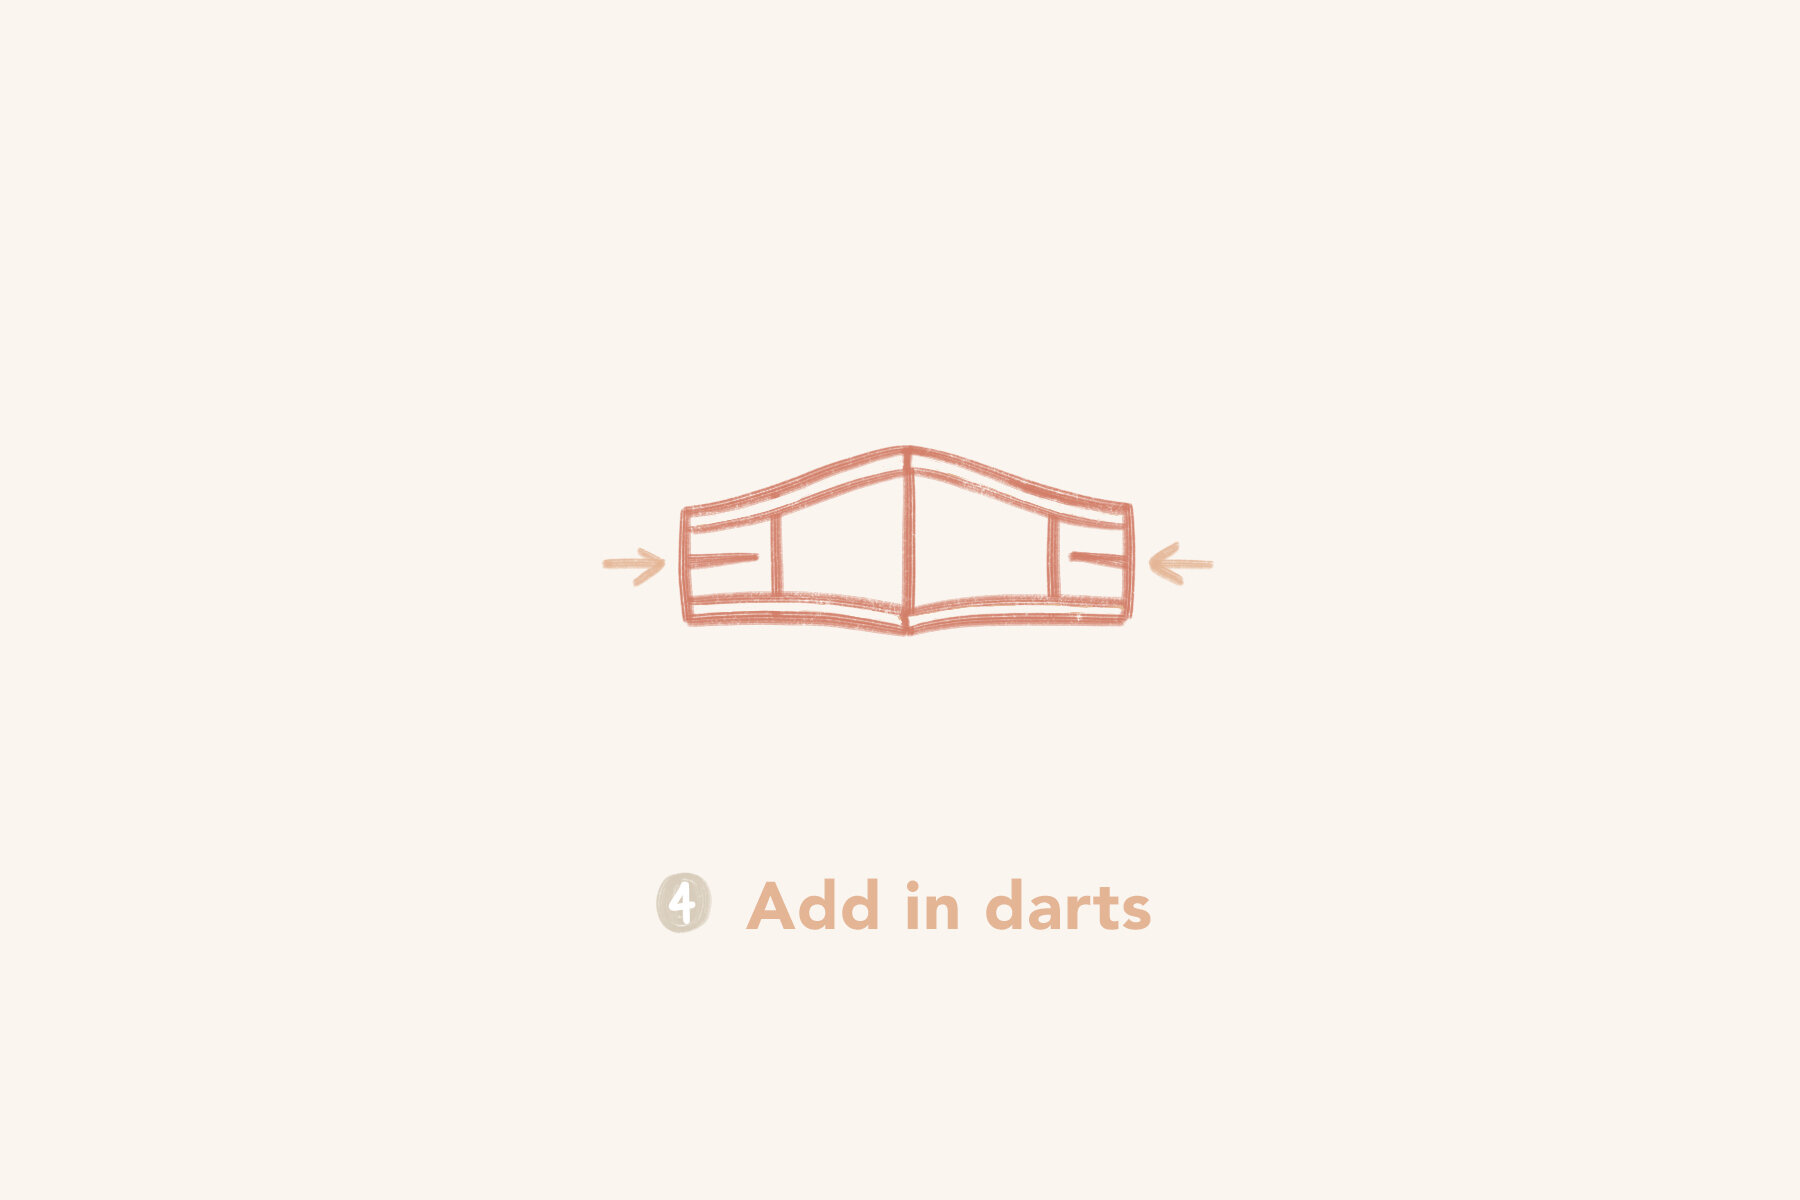
Cut or fold darts to make sure the entire edge of the face is flush to your face. Secure with a stitch.
[ Optional: Add a pocket to slip in a filter or a nose wire. Refer to Owl Be Sewing’s tutorial linked below.]
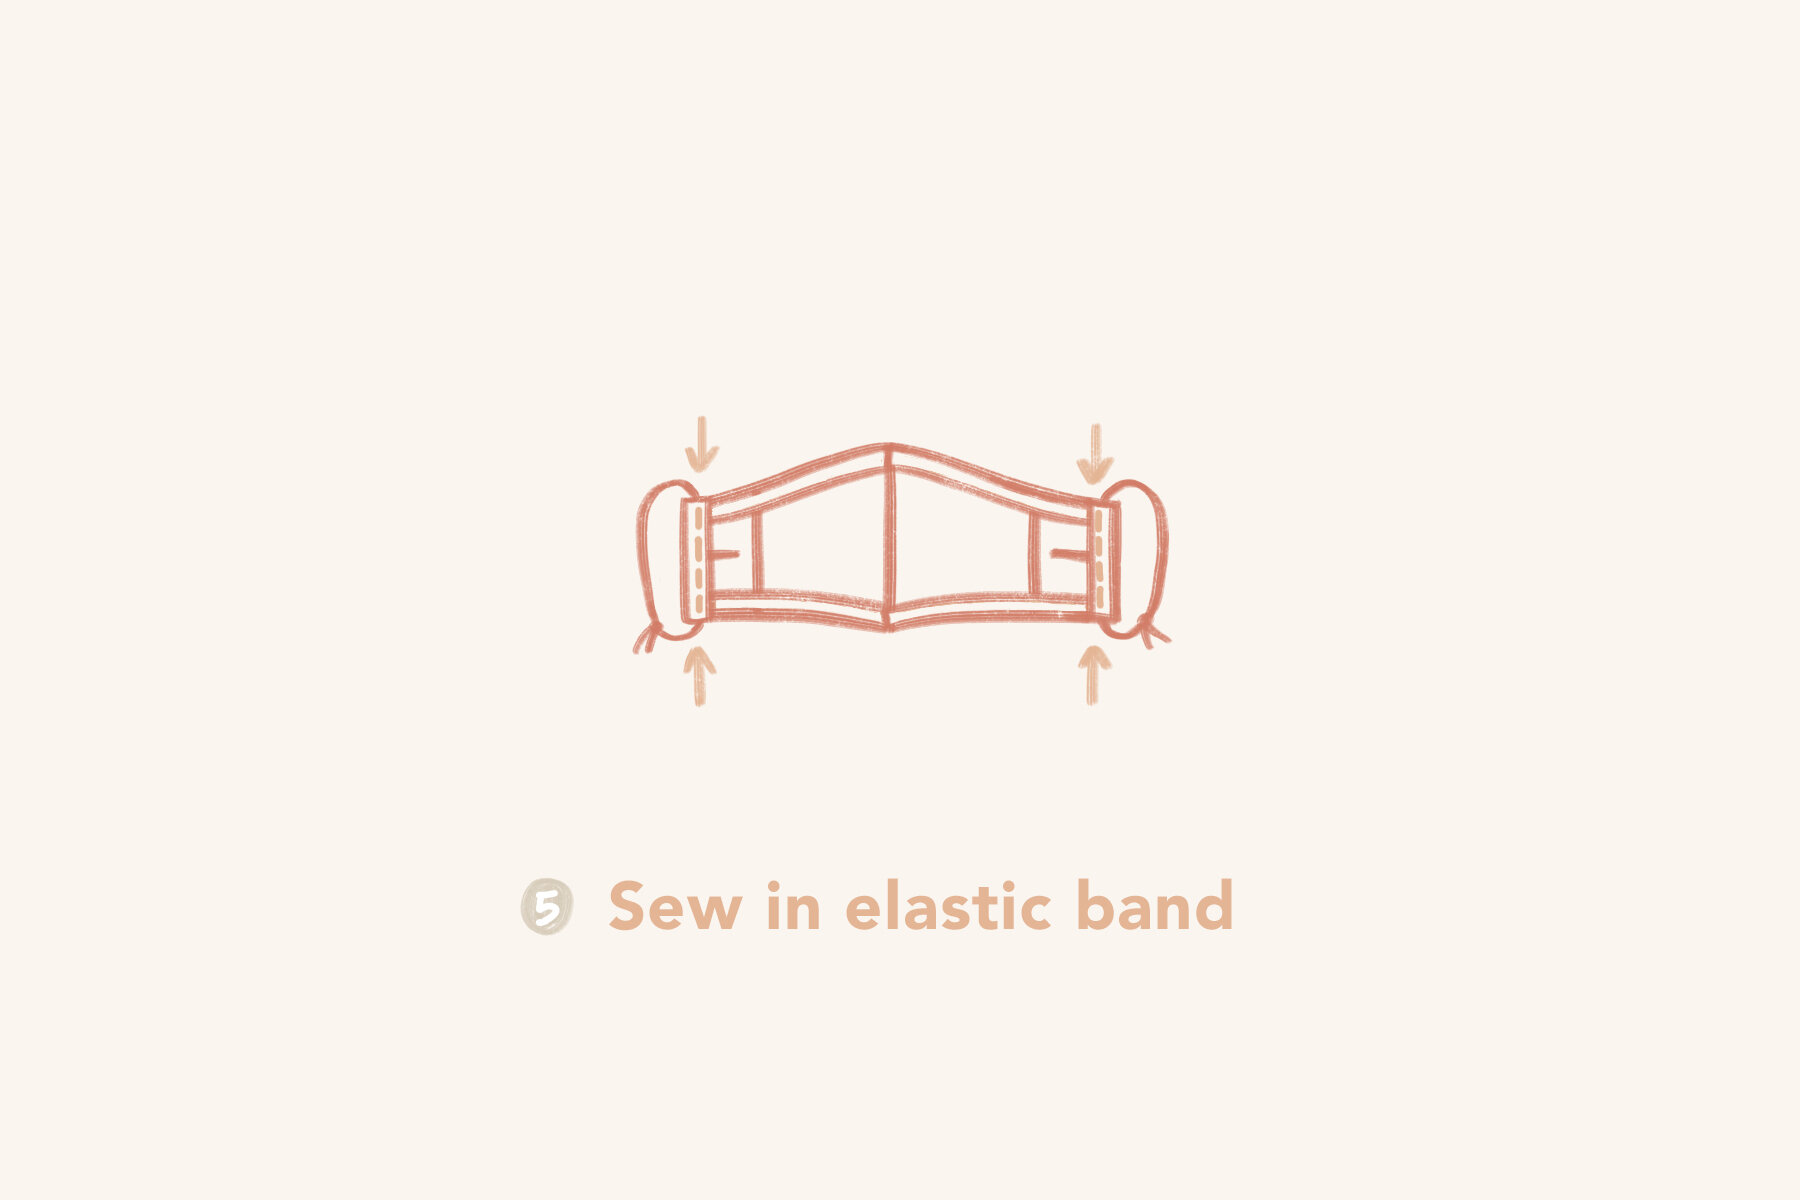
Tie a 7” elastic band to each side, fold the fabric in, and sew down. This allows you to easily change out the elastic if it ever breaks. You can also use a long thin piece of fabric to tie around the back of your head if you have flimsy ears like me.
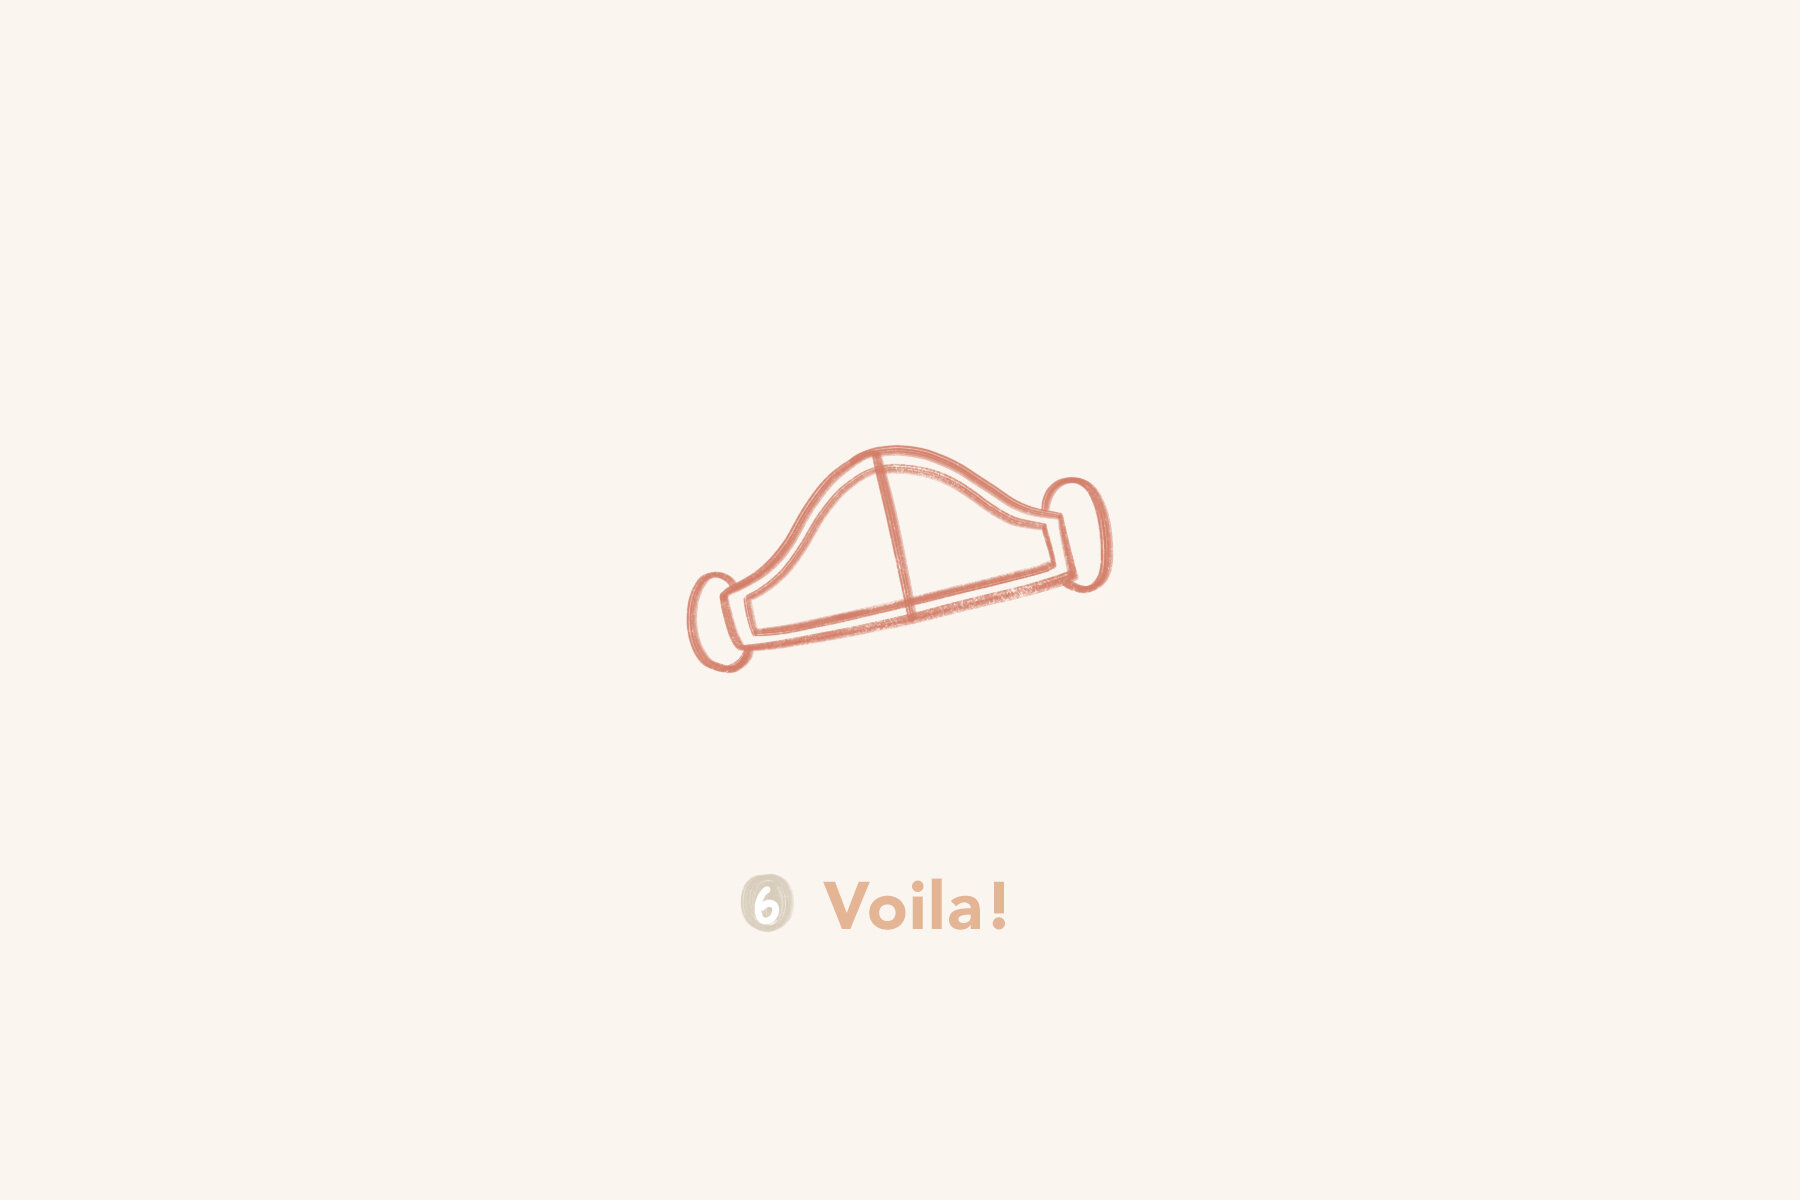
Voila, your very own personalized mask. Make sure to clean it after every use!
Get crafty and make a mask for yourself or a healthcare worker. Every face is unique so experiment with sizes, configurations, designs, or optional details. I started by following a tutorial for an Olson mask with a pocket, but didn’t have interfacing fabric so used cotton instead. Turns our three layers of cotton is too much. (Can’t breathe!)
From there I tried a lightweight version without a pocket, but added small darts. On my third mask I increased the size of the darts and added a small piece of fabric inside to hold a nose wire. (I used a bread bag twist tie, but a paper clip or pipe cleaner could also work.)
Additional Resources
CDC Sew and No Sew Face Covering Instructions

I guess this is life now. The way we communicate with one another will change. Without a smile, how will we greet people? How do we nonverbally communicate with our faces? Do I have to actually make eye contact now?